Blog Posts Novice Novice tutorials require no prior knowledge of any specific web programming language.
Go to Appearance > Theme Settings. Locate the blog posts settings under Posts > Blog Tab. The page looks like this:
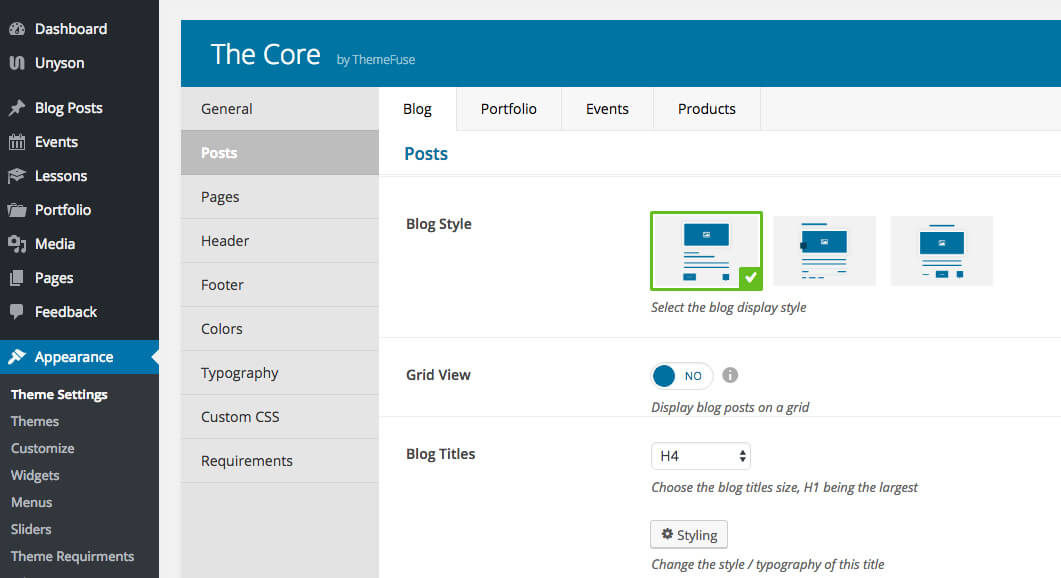
The blog posts options
Here you'll find option related to your blog posts. We've separated them in two sections:
Posts
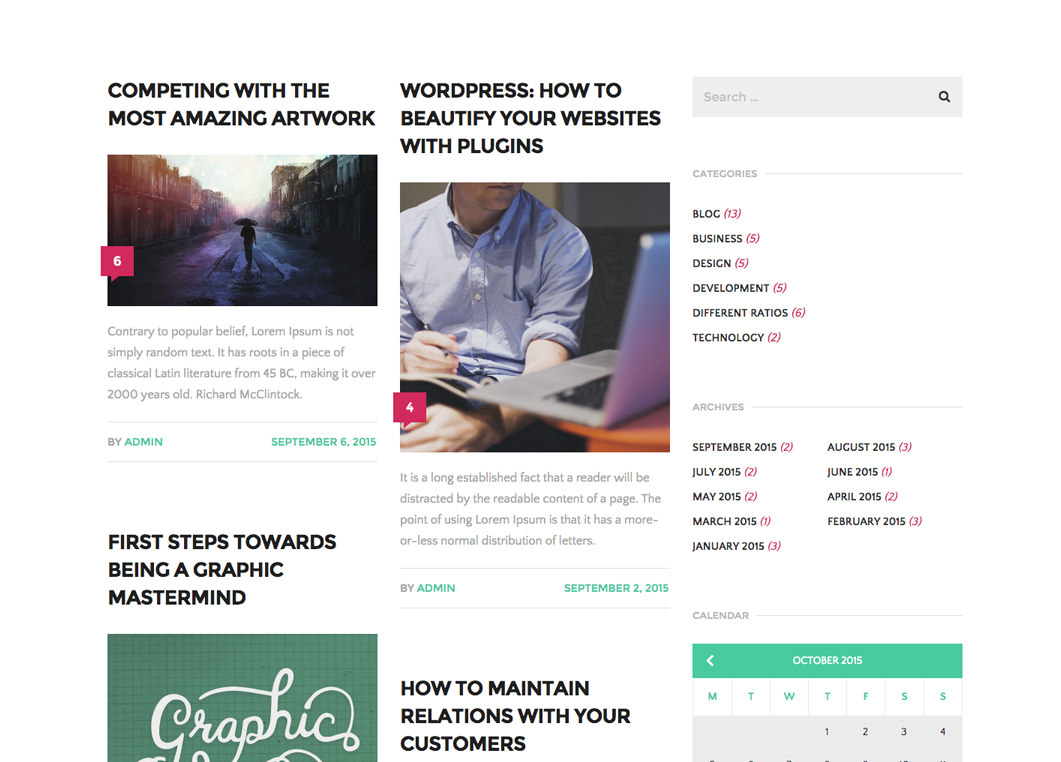
- Blog Style - use this option to choose the display style for your blog posts.
- Grid View - lets you display your blog posts on a grid. The posts will be displayed on a 2 columns grid if the page has a sidebar or on a 3 columns grid if it doesn't.
- Blog Titles - lets you style your blog titles.
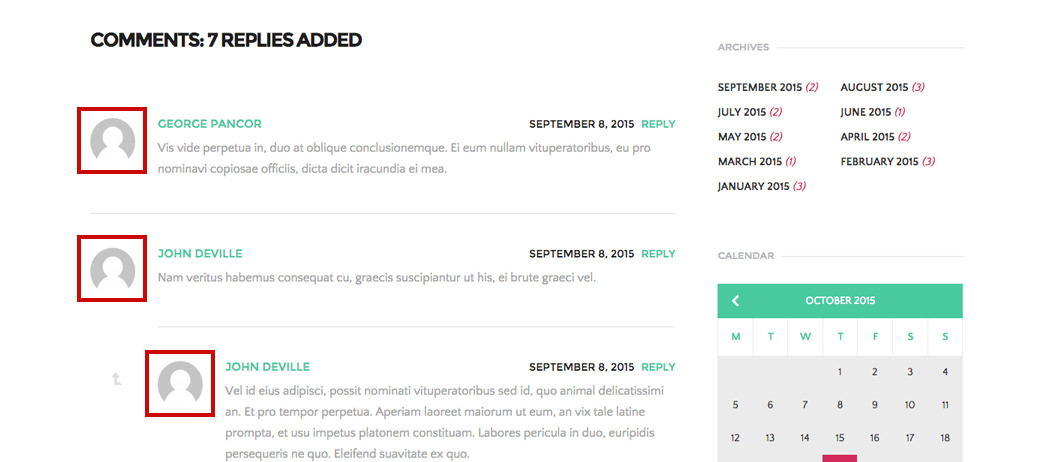
- Comments Number - lets you enable or disable the number of comments for posts and choose one of the 5 built-in display styles.
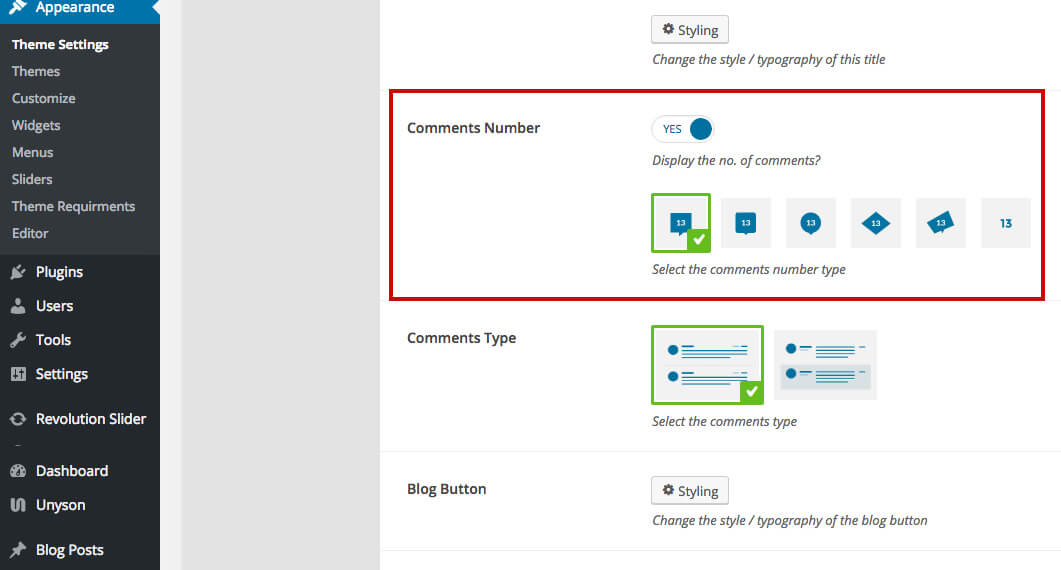
- Comments Type - lets you choose the comment display type.
- Blog Button - change the style / typography of the blog read more button.
- Image Alignment - lets you select the default image alignment for a new post. Your choice will not apply to posts that are already published, but it will set the default value for image alignment when you create new posts.
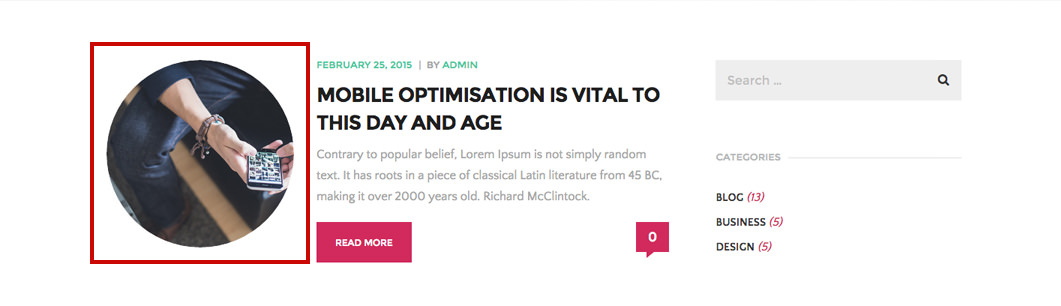
- Use Round Image - use this option to set the default image roundness for new posts. Your choice will not apply to posts that are already published, but it will set the default value for image roundness when you create new posts.
- Featured Image - lets you enable or disable the use of the featured image in the post details page. Your choice will not apply to posts that are already published, but it will set the default value for when you create new posts.
- Image Border - add a border to all your blog images.
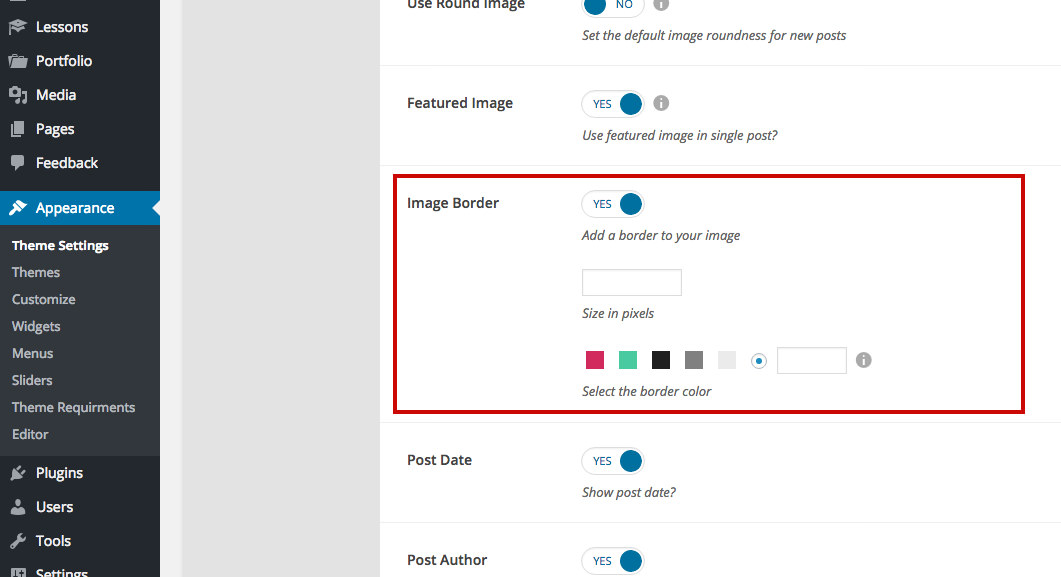
- Post Date - allows you to enable the display of the post publishing date.
- Post Author - allows you to enable the display of the post author.
- Post Categories - allows you to enable the display of the post categories.
- Author Box - allows you to enable the display of the author box.

- Post Navigation - enables or disables the posts navigation module from the post details page.
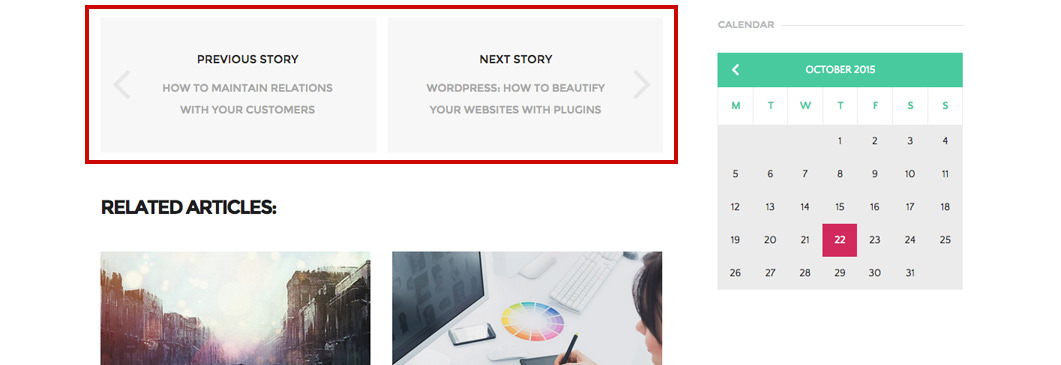
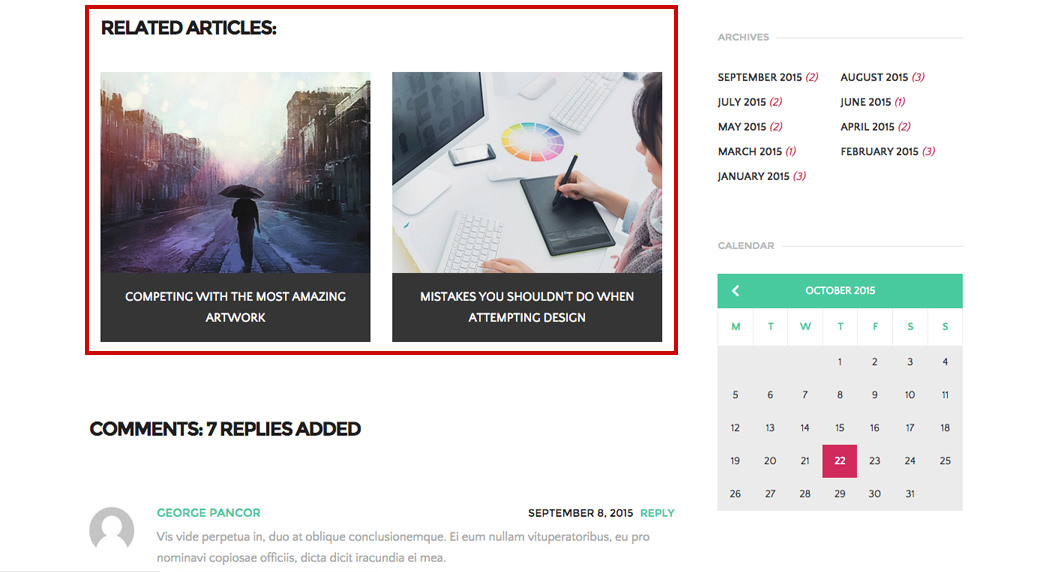
- Related Articles - lets you choose the style displays of the related articles section on the post details page. It appears on the bottom and it displays posts containing the same tags as the article you are reading. If no tags match, it displays articles from the same category.
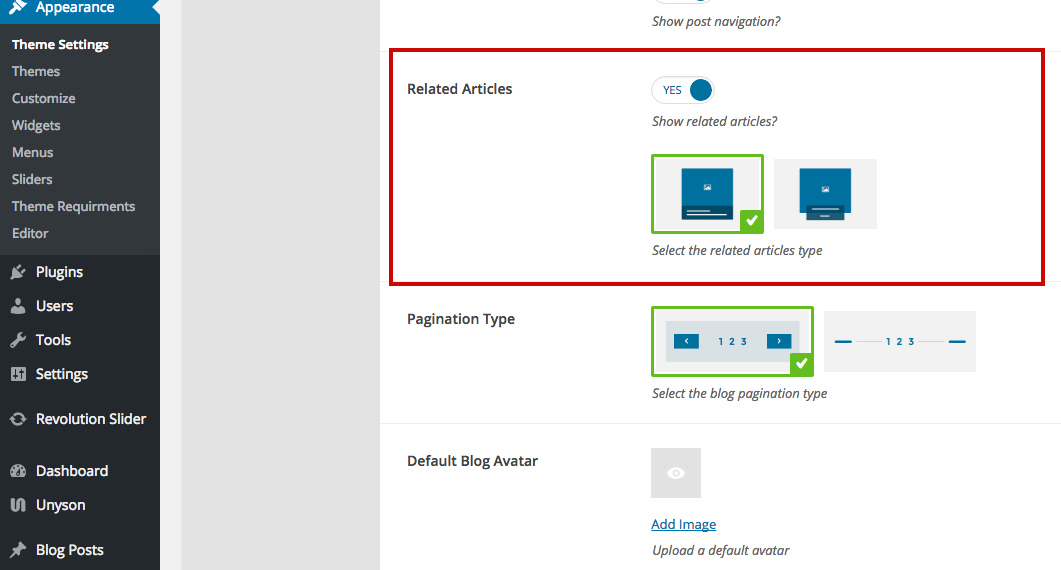
- Pagination Type - lets you choose the style of the blog pogination.
- Default Blog Avatar - lets you set a default blog avatar. This is the default avatar used when the user doesn't have one set.
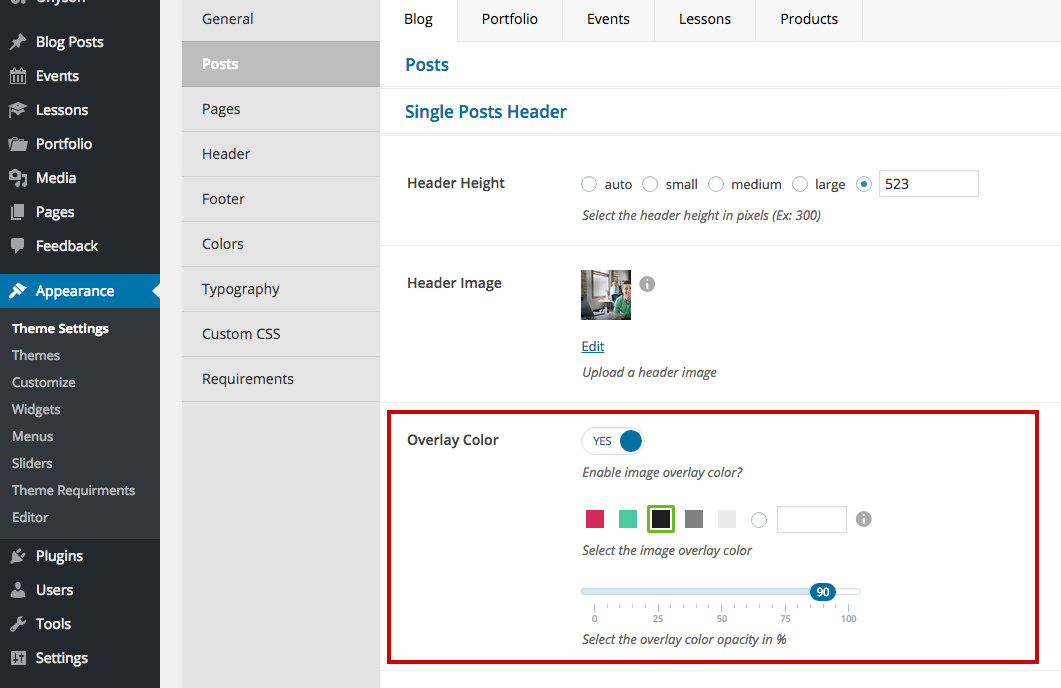
Single Posts Header
- Header Height - lets you set the header height. Comes Auto by default and it also has 3 preset choices (small, medium and large). These presets were created in order to help you keep all your header heights consistent across the website.
- Header Image - lets you change the default header image for all your posts if you didn't set one for a specific post. This is a global setting and will take effect for all your posts that doesn't have an image set. Learn more about how to set an image for a specific post from this article.
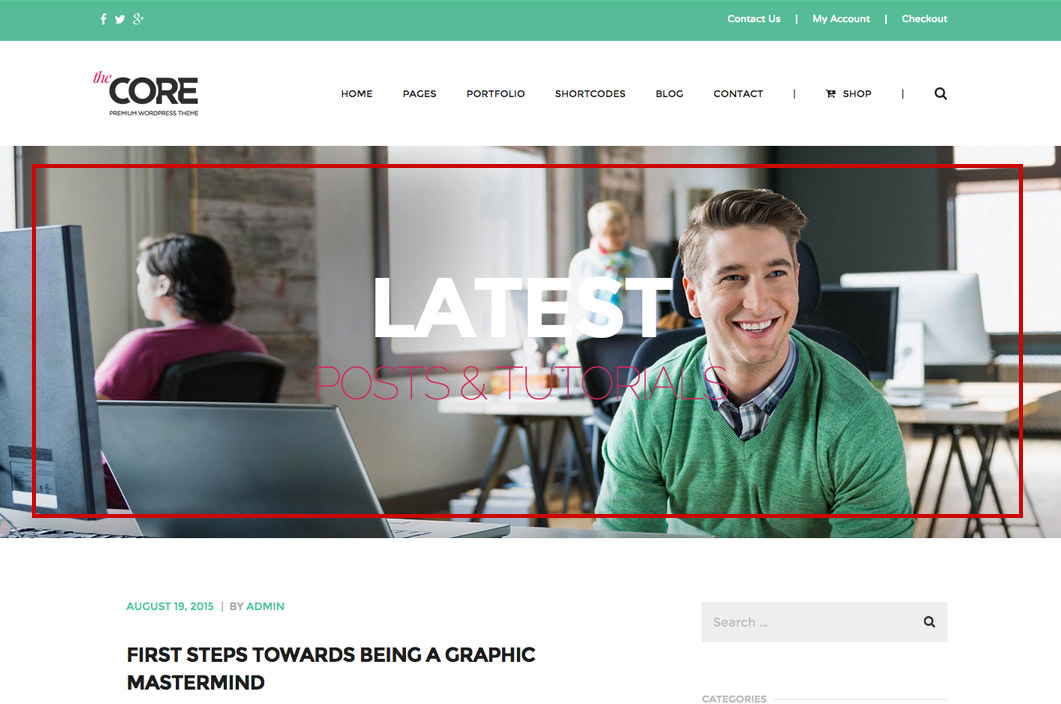
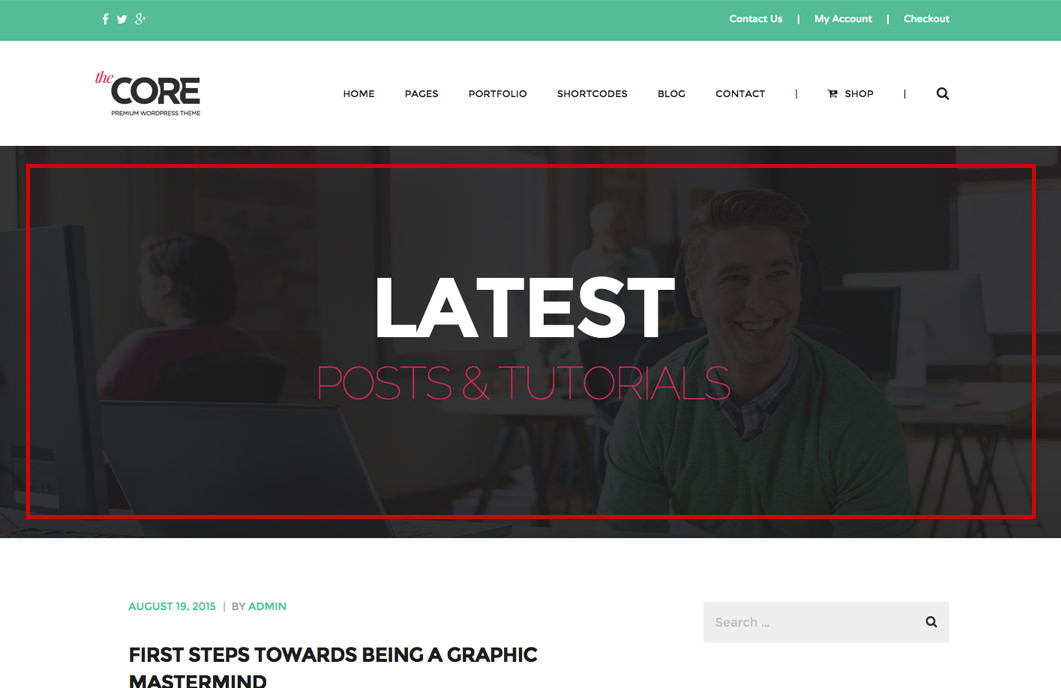
- Overlay Color - use this option if you want to set a color overlay for your image. You can select one of the 5 default colors or input a custom one. Use the opacity slider in order to control the overlay color opacity.
Backend
Frontend
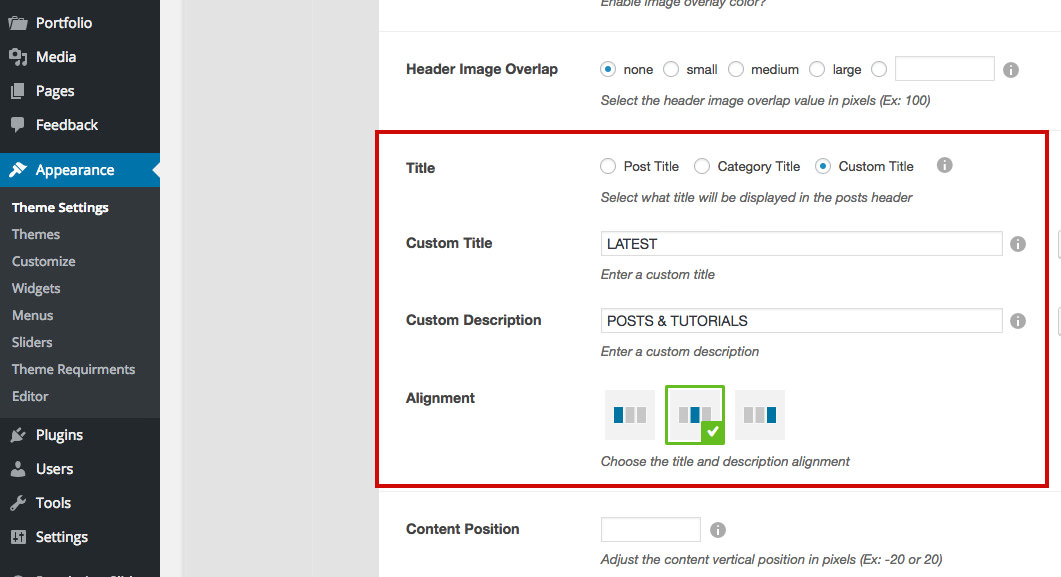
- Header Image Overlap - lets you select the header image overlap value in pixels. The content that follows will overlap the header with the specified pixel amount
- Title - lets you select what title will be displayed in the post's header. You can choose to display the Post Title, the Category Title or a Custom Title and Custom Description
- Alignment - lets you select the title and description alignment
Backend
Frontend
Important
The title option applies only to blog post details page (single) and will be displayed only if you have a header image set (in the post or in the theme settings).
Keep in mind
If you choose the category as a title and the post is included in multiple categories, the first category in alphabetical order will be displayed as the header title.
- Content Position - this option takes values in pixels and lets you adjust the content vertical position. It is mostly used when you want to fine tune the header content position on the vertical axis (e.g. the logo and main menu are positioned absolute and you want the header content moved up or down). Input a negative value if you want your content to go up or a positive value if you want your content to go down.