Add a Header Image to a Blog Post Novice Novice tutorials require no prior knowledge of any specific web programming language.
In this theme we've built a couple of options that let you change the header image for your posts and post categories.
By using the header image options you can:
- Set a global default image for all your Blog Posts - this is done from the Theme Settings page, and the image will be used for all your posts if you didn't set one for a specific post.
- Set a default image for a blog category - lets you set a header image for a specific category.
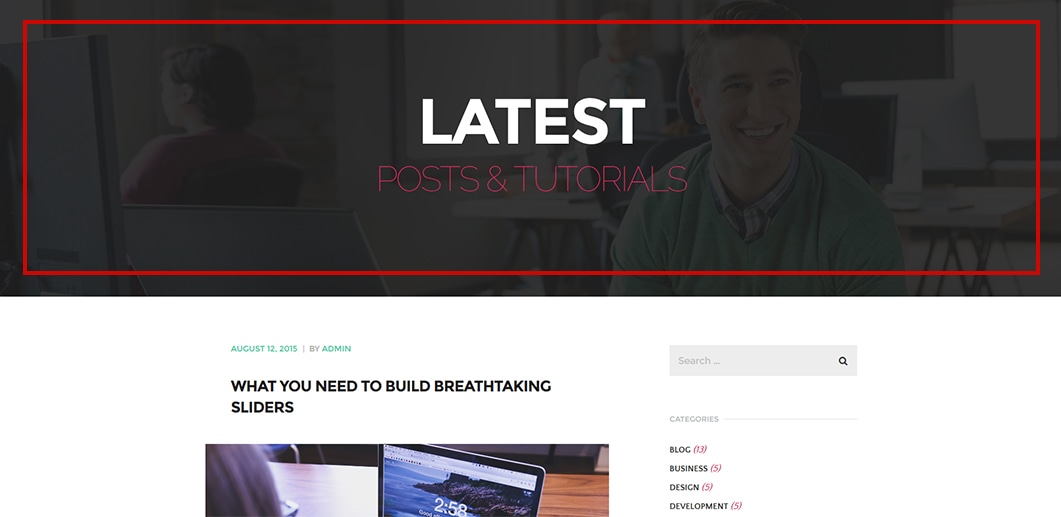
- Set an image for a specific blog post - the blog post will have this image as the header image. This will overwrite the image set in the Theme Settings.
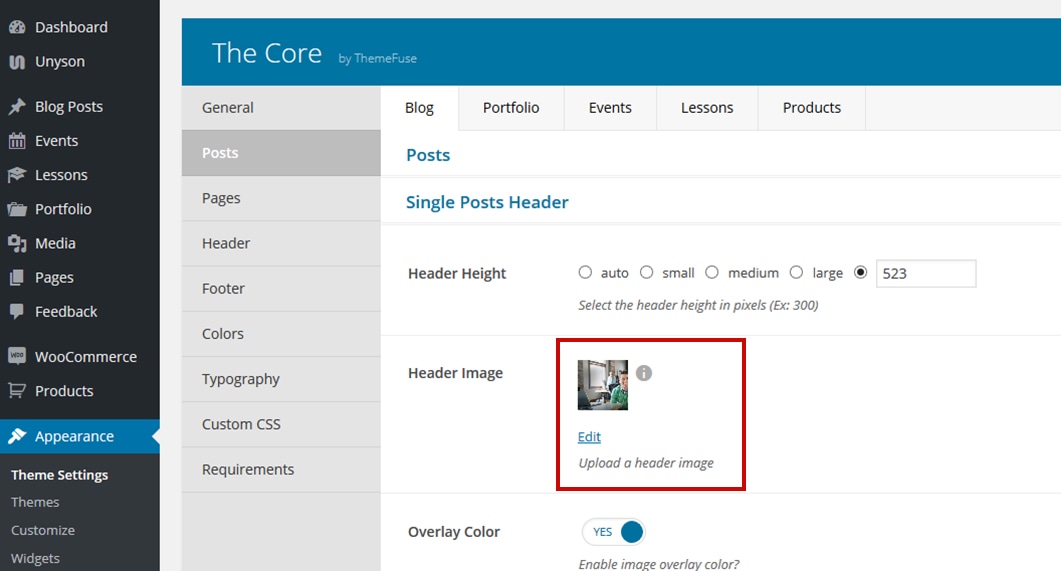
Set a global default image for all your blog posts
- Go to Appearance > Theme Settings in the main menu
- On the Theme Settings page go to Posts > Blog tab and under the Single Posts Header section you'll find the option to upload an image that will be displayed in the header for all your blog posts.
Information
There are more options here like header height, overlay color and more. These options are explained and addressed in this article.
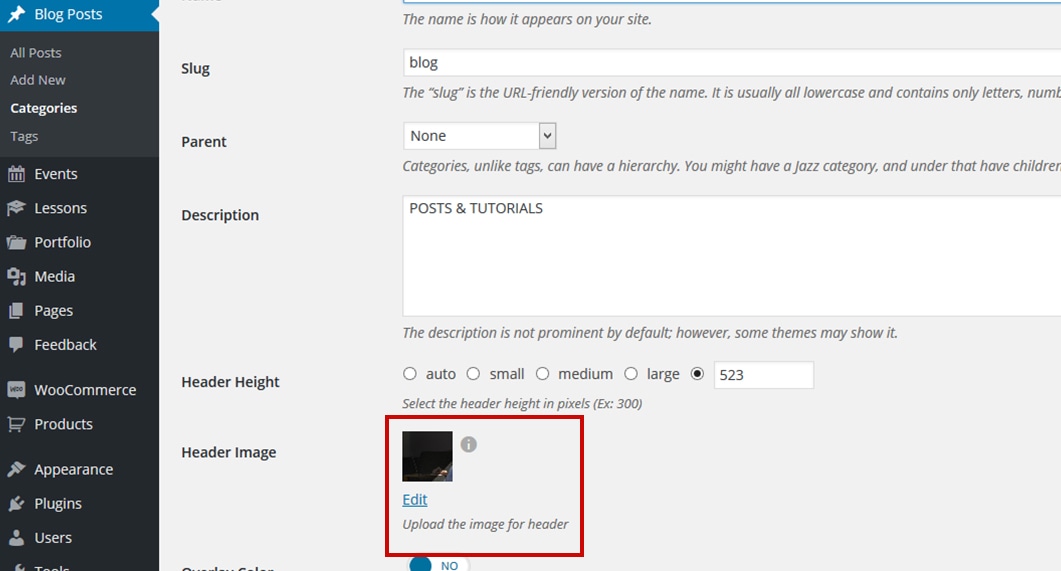
Set a default image for a blog category
- Go to Blog Posts > Categories in the main menu
- Click on the category you want to edit and find the Header Image option. The image uploaded here will be used in the header of this blog category only.
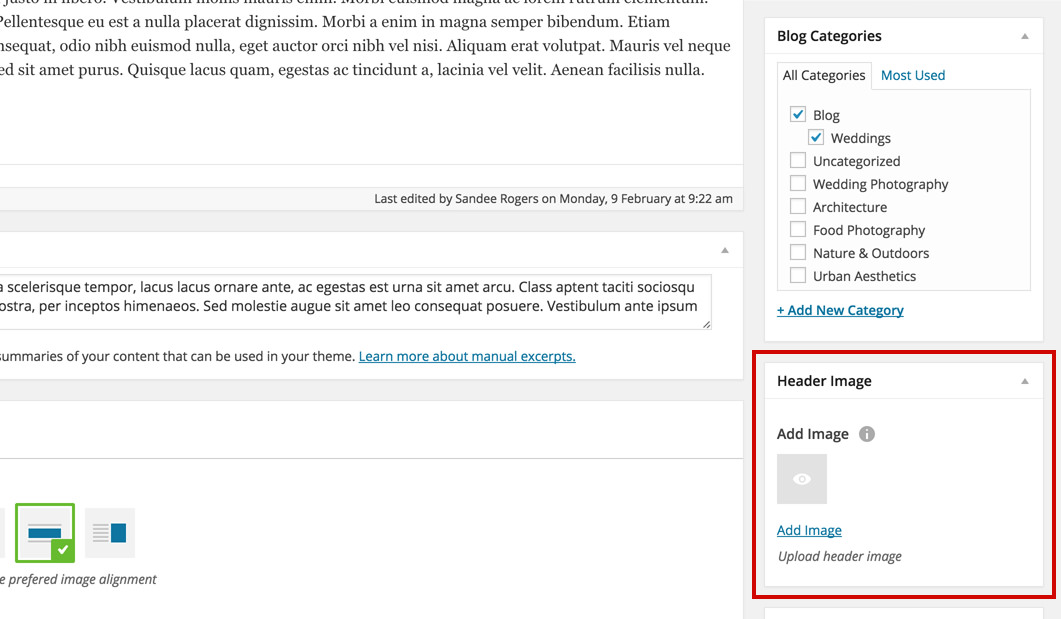
Set an image for a specific blog post
- Go to Blog Posts > All Posts in the main menu
- Click on the post you want to edit and find the Header Image option in the sidebar. The image uploaded here will be used in the header of this specific post and will over write the image set in Theme Settings.