Add a New Blog Post Novice Novice tutorials require no prior knowledge of any specific web programming language.
In order to add a blog post you should follow the following steps:
- Log in to your WordPress Dashboard (Ex: http://yourwebsite.com/wp-admin)
- Click the Blog Posts tab
- Click the Add New sub-tab
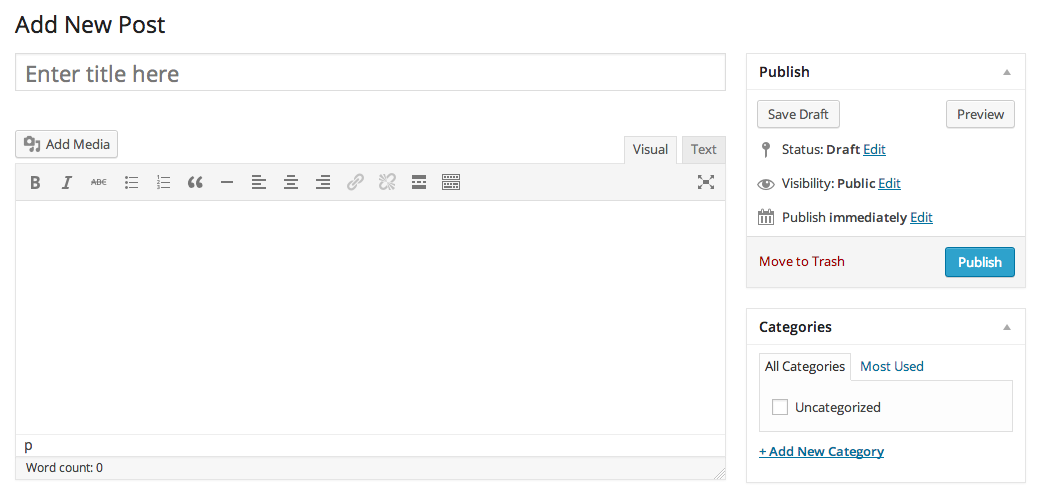
- Start filling in the blanks:
- Title: introduce in the upper field the title of your blog post
- Content: enter any information you want to display on your blog post
Reminder
You must complete at least the title field to successfully create a blog post. Avoid using the same title twice as that will cause confusions!
- As needed, you may also fill in the following fields:
- Categories: select the general topic your blog post can be post in.
- Post Tags: refers to sub-categories for your blog.
- Image: add an image that is relevant for your blog post.
- Excerpt: a summary of your blog post displayed on the front page/categories/archives.
- Author: select your name from the drop-down menu.
- Format: select blog post format.
- Slug: edit the blog post URL.
Information
Check out how to add an image to your blog post.
- In the right sidebar by default, your new blog post will be Draft. If you want to wait to publish your post, check the Pending Review option. If you want to publish immediately, select Published.
- You may want to click Preview button that allows you to view the blog post before officially publishing it.
Attention
It is possible to schedule your blog post for publishing at a future date and time. Learn more about Future Publishing.
- When you are ready, click Publish. Your blog post should now be visible on your website unless you've set a future publication date.