Add a New Contact Form to a Page Novice Novice tutorials require no prior knowledge of any specific web programming language.
Add a contact form to any page by adding the Contact Form Shortcode via de Visual Page Builder.
Adding the contact form shortcode to a page
- Go to Pages > All Pages
- Create a new page or click on an existing page that is already created
- Click on the Contact Form shortcode in order to add a new contact form to your page
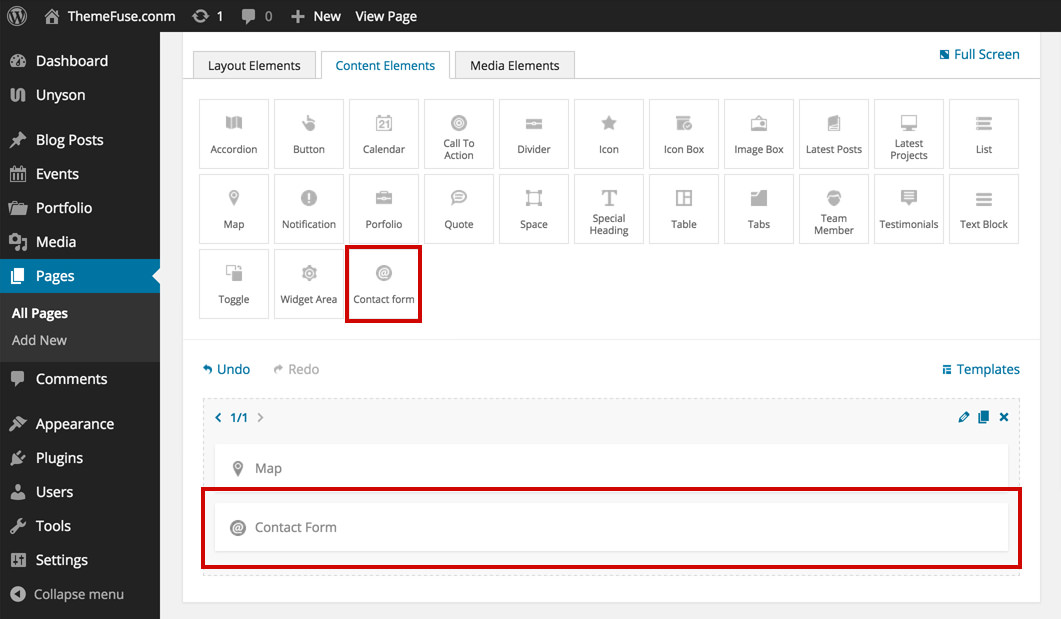
Creating the contact form
- Click on the Contact Form Shortcode added to the page and this will open a pop up with the Contact Form Builder
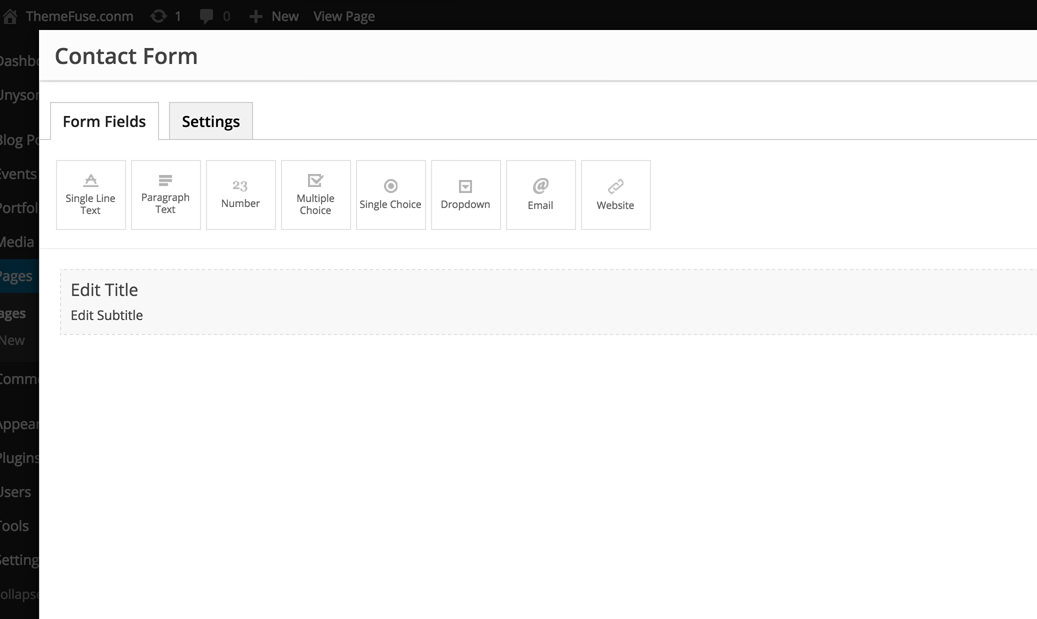
- Use this builder in a similar way as the visual page builder in order to create your desired contact form by dragging & dropping any of the form fields on the page.
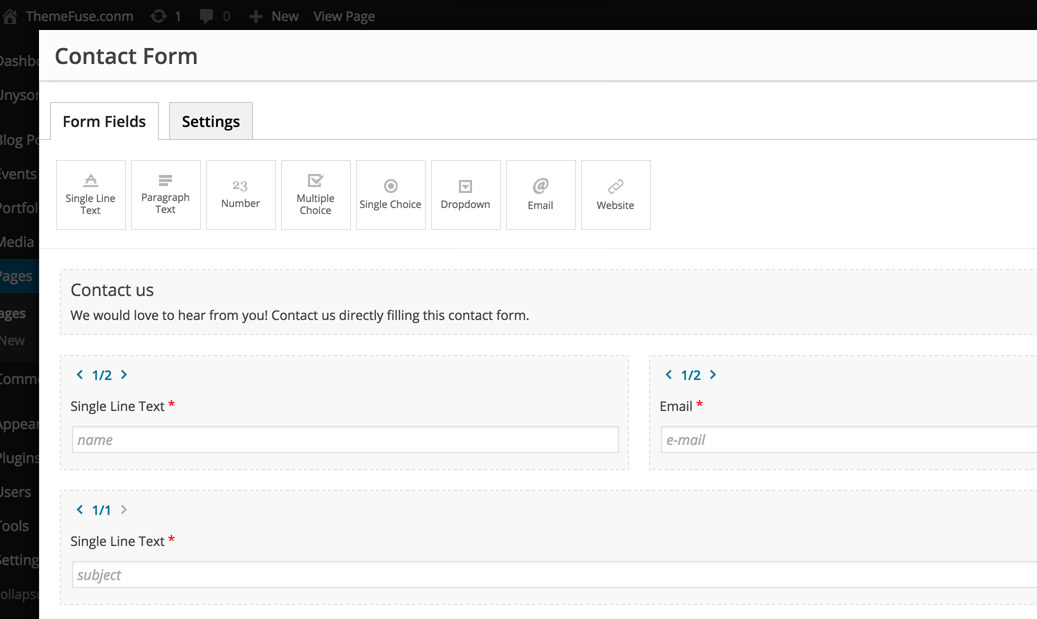
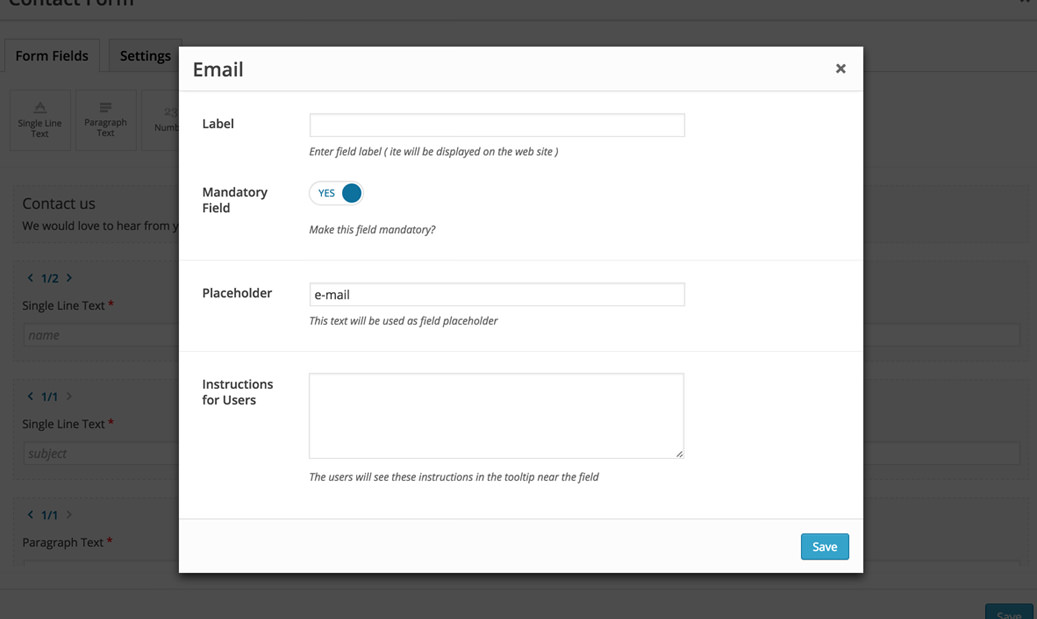
- Click any shortcode to access the options for that field. From here you can control different settings depending on the field: label, mandatory setting, restrictions, placeholder text, etc.
Tip
We advise you to go through every field and check every option in order to tailor your contact form to your needs.
Things you might find helpful
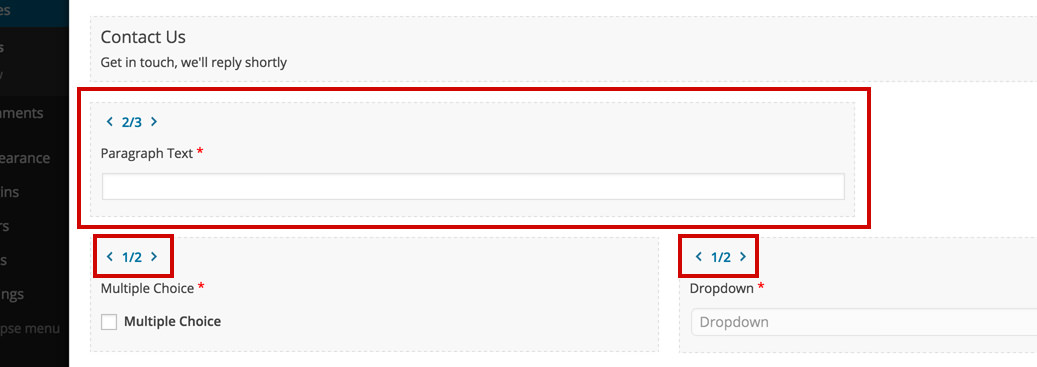
- Every contact form field comes in its own default 2/3 column that can be changed using the arrows
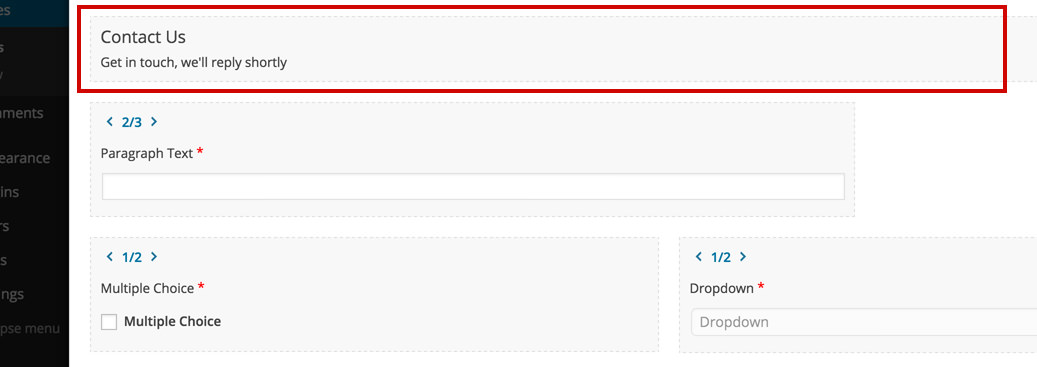
- The Title and Subtitle area of the contact form is "set in stone" and can't be deleted
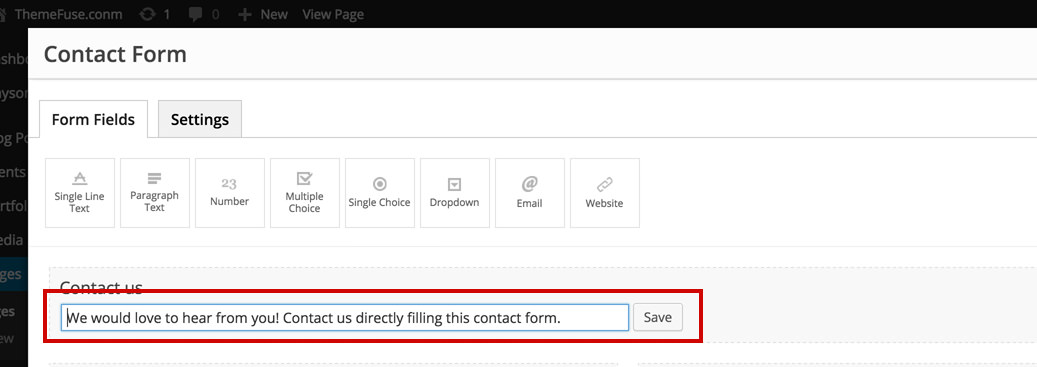
- You can edit in place any labels by clicking on them
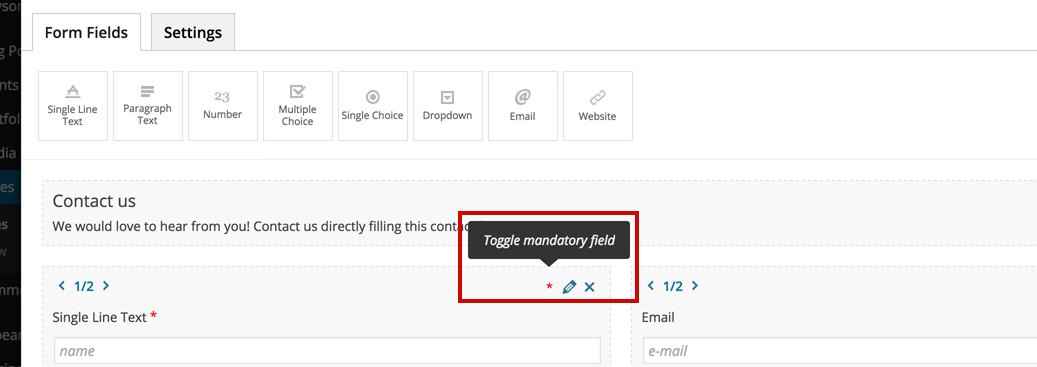
- You can toggle the mandatory field option directly from the main screen by clicking the red star in the corner
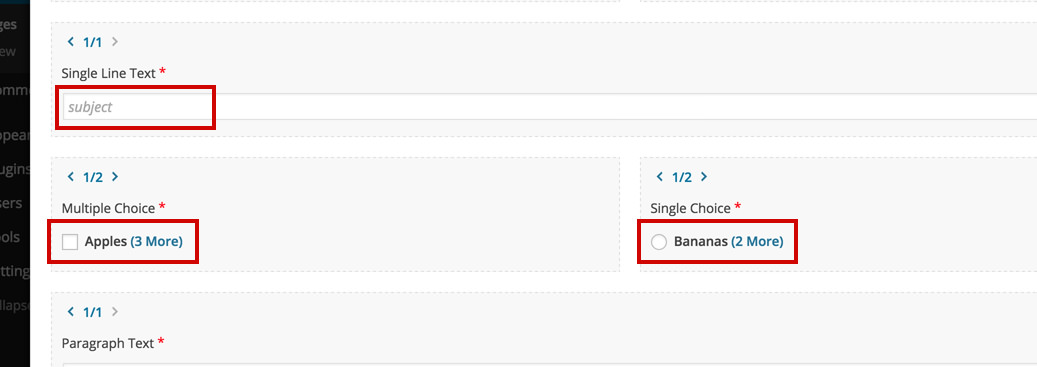
- All the fields have a simplified representation containing some helpful info about that field. It can be the placeholder text in the case of single line text, or the first choice in the care of a multiple choice field.
Important
Make sure your contact form is set up accordingly by checking your message options and sending methods from the Settings Tab. Find out more about this from this article.
