How to Create a Backup Schedule Novice Novice tutorials require no prior knowledge of any specific web programming language.
Creating a backup schedule is a must and you should take 1 minute to create one as soon as possible.
This will potentially save a lot of headache and time along the road. Create a backup schedule by following these steps:
- Go to Tools > Backup.
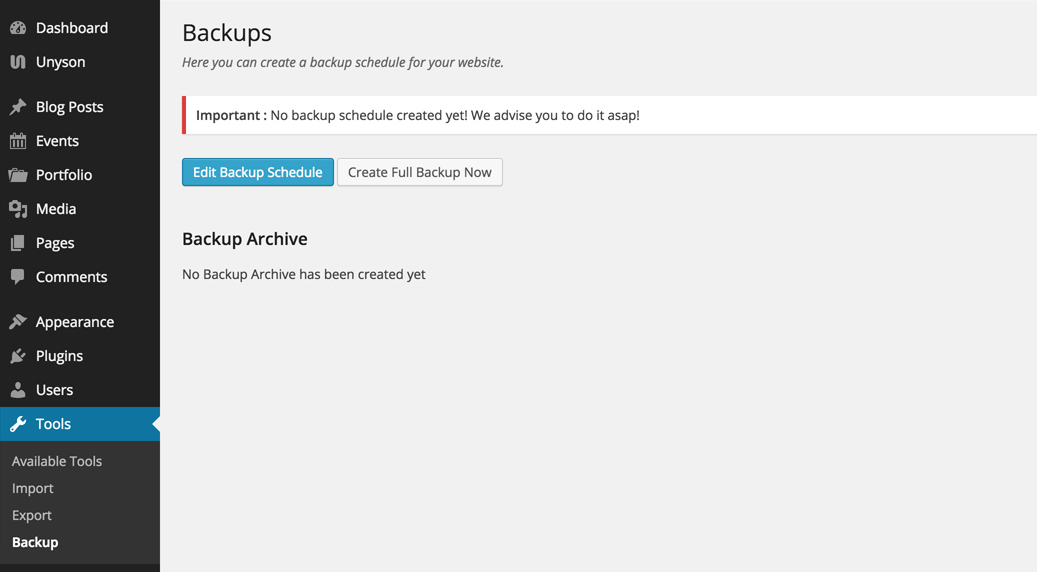
- Click the Create Backup Schedule button to bring up the options pop-up.
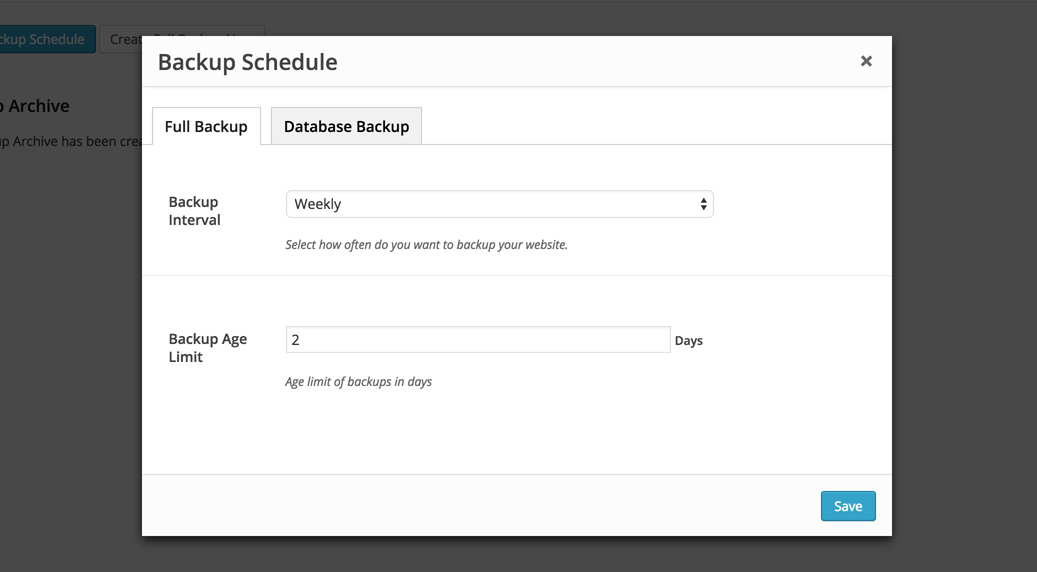
You can set up 2 different backup schedules:
- Full Backup - creates a full back of all your files including the database.
- DataBase Backup - creates a backup for your database only.
Because a website doesn't change that much from day to day or even from week to week it is advisable to set up a longer period for the full backup and a shorter one for the database backup. For example, you can set a monthly full backup and a weekly database backup, but this largely depends on how often your website changes. If you have a news website for example and you post articles every day, you'd want a shorter backup interval.
Each backup type comes with the same options:
- Backup Interval - where you select how often do you want to backup your website. The options are Daily, Weekly, and Monthly.
- Backup Age Limit - lets you set the age limit of backups in days. After the days pass the backup will be deleted from the server.
Keep the age limit for you backups higher than the backup interval in order to give the system time to make another backup before the old one is deleted. In this way, you ensure you have a backup in the case of a crash. Moreover, make a habit of downloading a full backup on your computer (once a month).
Make a habit of downloading a full backup on your computer from time to time. If something happens with your server it's possible to lose the backups as well (because they are stored locally on your server).