Contact Form Novice Novice tutorials require no prior knowledge of any specific web programming language.
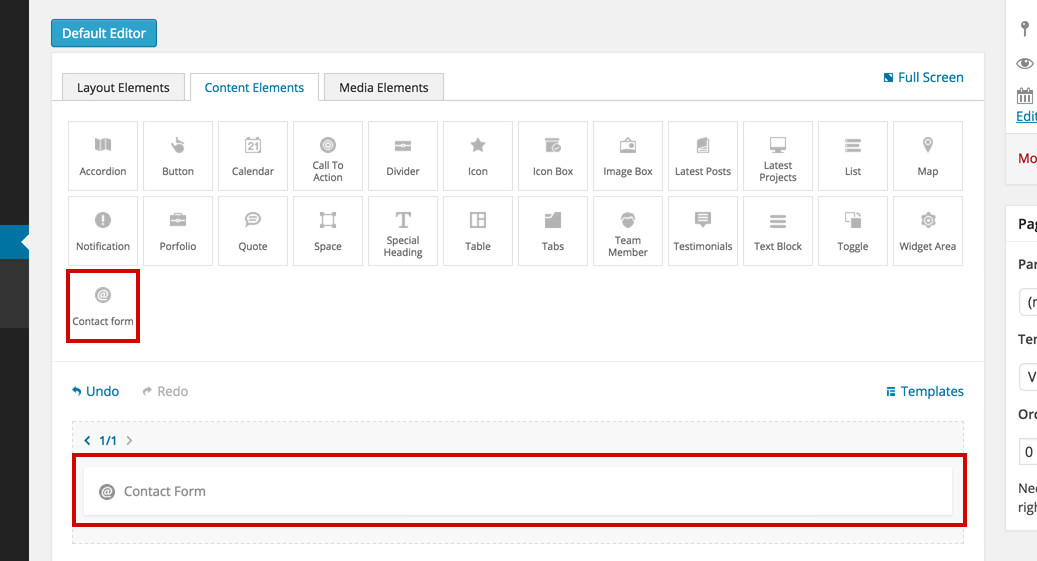
This shortcode lets you add a contact form to your page:
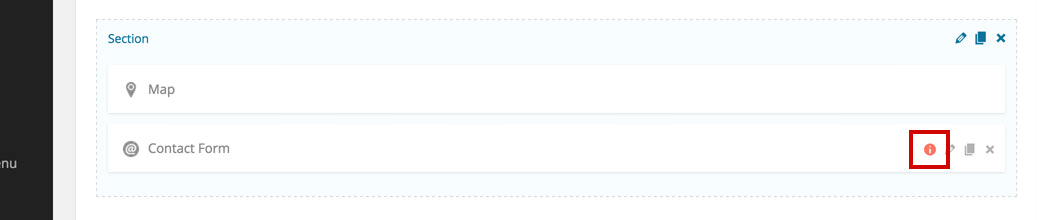
Back-end
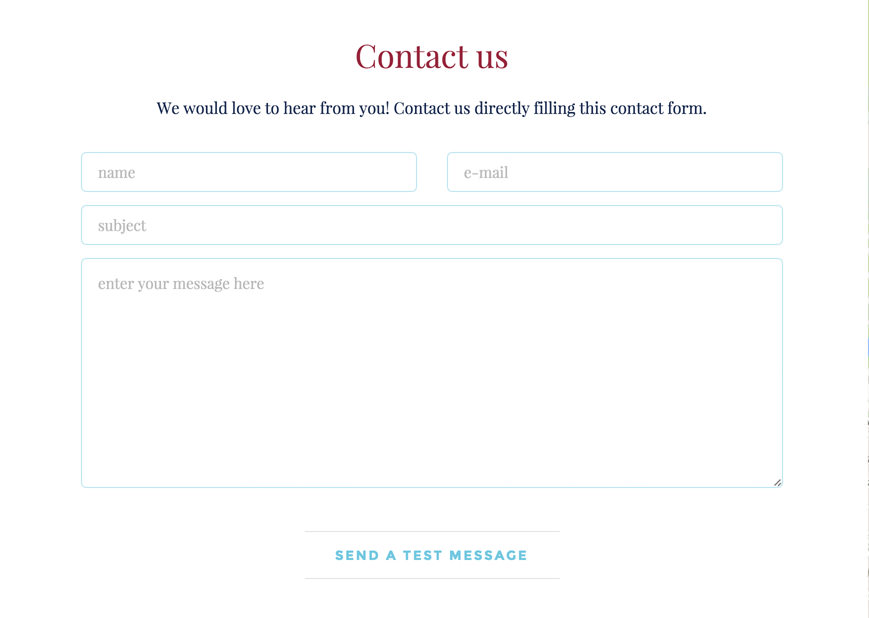
Front-end
Creating the contact form
- Click on the Contact Form Shortcode added to the page and this will open a pop up with the Contact Form Builder.

- Use this builder in a similar way as the visual page builder in order to create your desired contact form by dragging & dropping any of the form fields on the page.
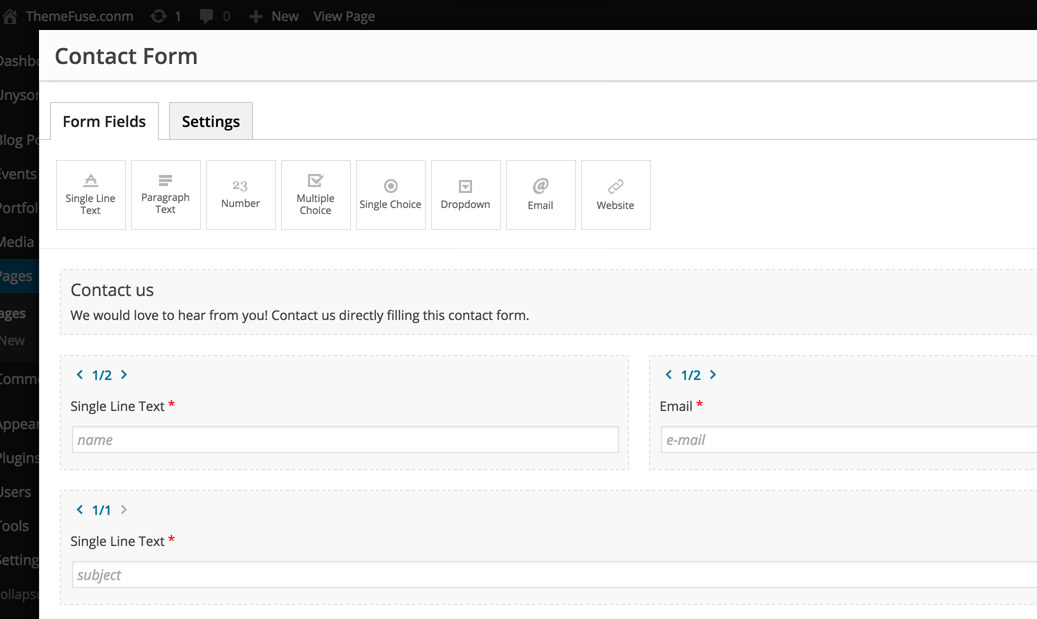
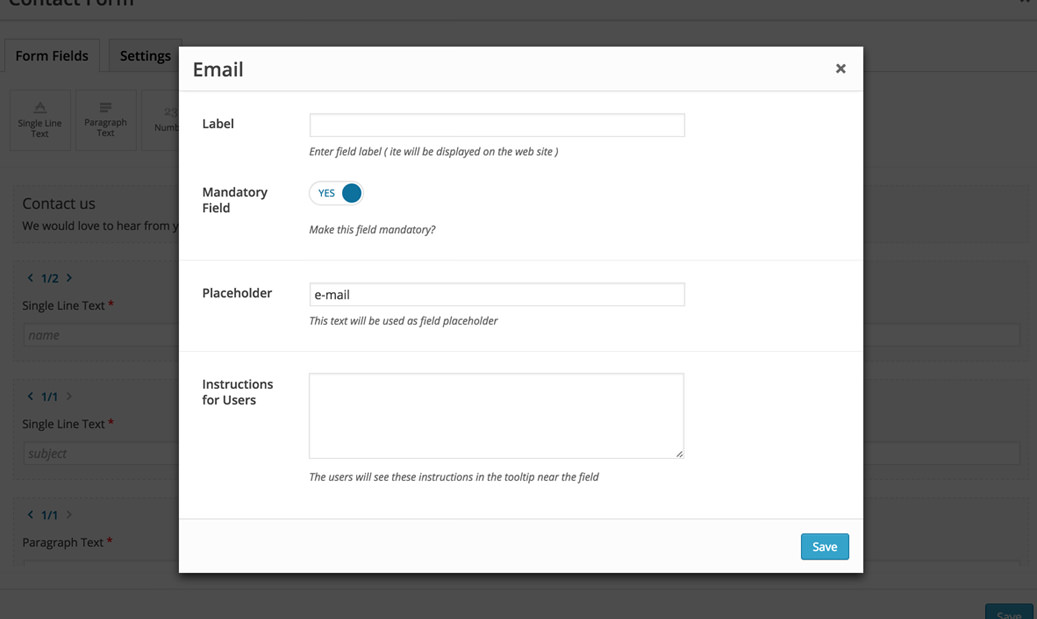
- Click any shortcode to access the options for that field. From here you can control different settings depending on the field: label, mandatory setting, restrictions, placeholder text, etc.
The contact form options
Click on the shortcode to bring up the options and click the Settings tab. Here we've separated the settings in two sub sections: Options and Mailer.
Options
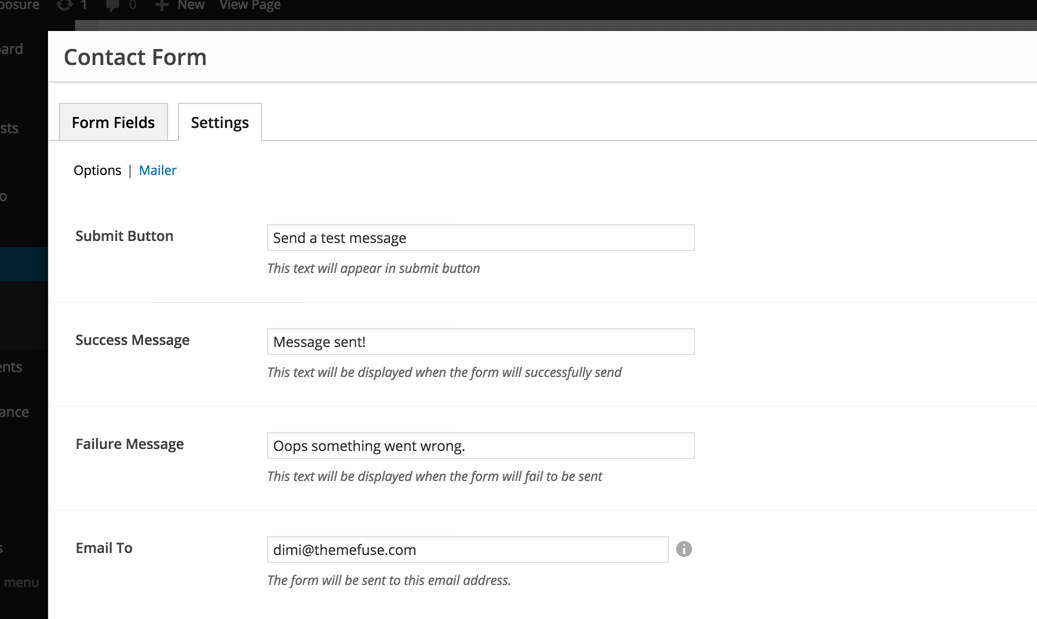
- Submit Button - this is the text that the user will see on the submit button.
- Success Message - the user will see this text if the form will be successfully sent.
- Failure Message - this text will be displayed when the form will fail to be sent.
- Email To - the admin email where the form will be sent, make sure to use an email address that you verify often as all the emails sent from this form will go to to this email.
Mailer
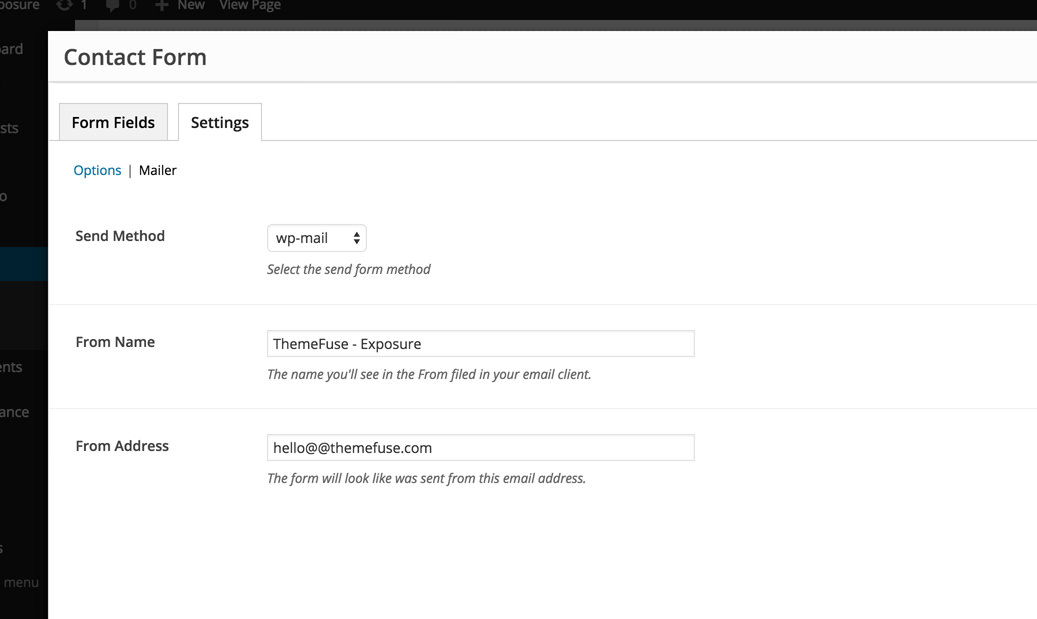
- Send Method - this is the send method and you have two options: wp-mail (the most used, all the settings are done, you'll use your standard WordPress mailer to send the form) and SMTP (used if you want to use your SMTP server to send your emails).
- From Name - when you (the admin) will receive the notification that a new form was submitted from the website you'll see this name in the From field in your email client
- From Address - when you (the admin) will receive the notification that a new form was submitted from the website you'll see this email address in the email from field in your email client
If the sending method is not set, a notification bubble will be displayed on the shortcode after you save/update the entire page from the Update button on the sidebar.